Step 01
For the first, you need to go to the Facebook developers website https://developers.facebook.com
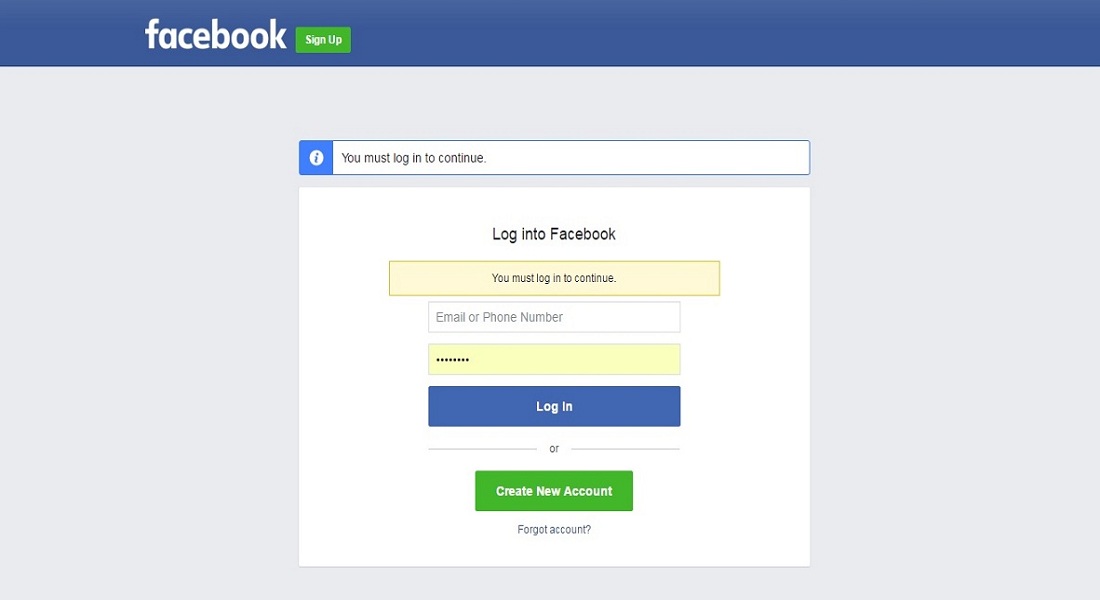
On the top right corner select Login.
Login with your Facebook account or create a new one.
It is possible that you already have been connected to the Facebook and this step is not required.
Step 02
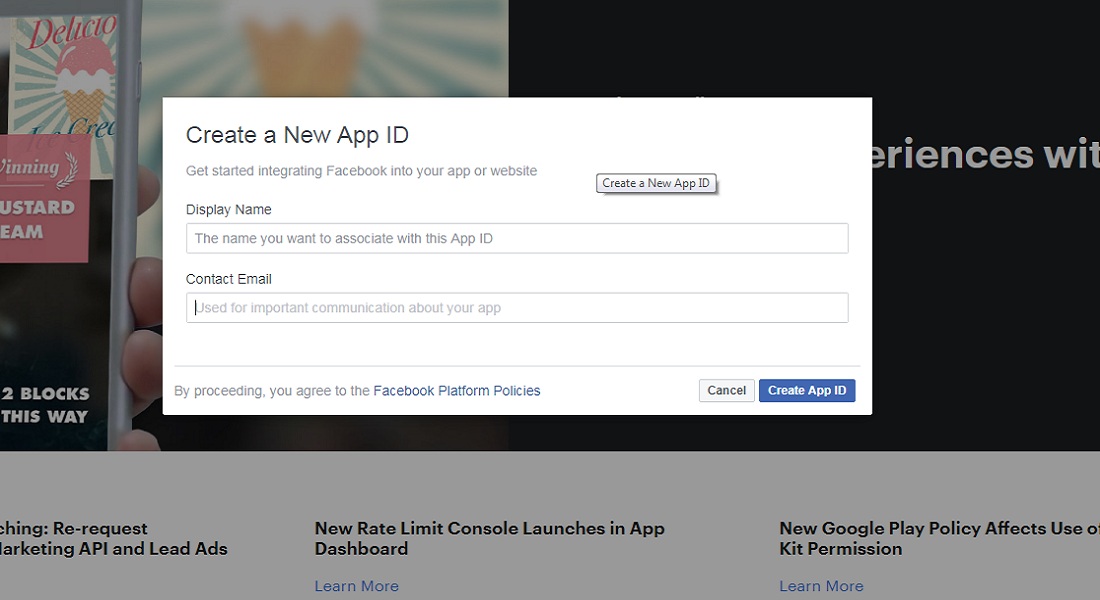
On the top right corner select My Apps -> Add New App.
On the pop-up Create a New App ID, choose a name you want to associate with your app and type a email address. Click Create App ID.
Step 03
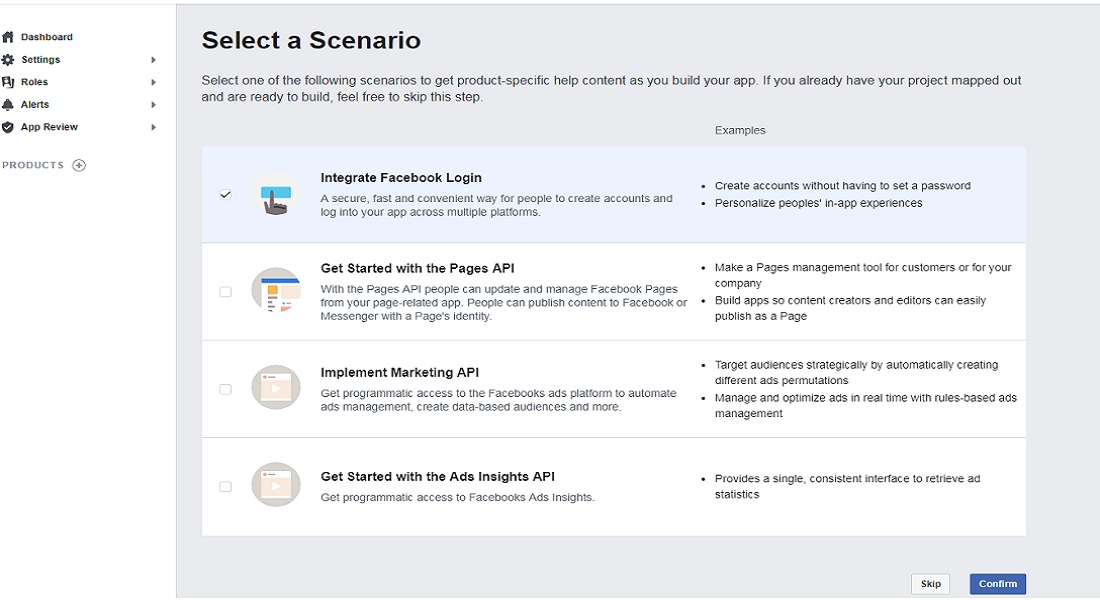
After you register your app, you have the option of choosing one or more scenarios. Selecting a scenario adds the products related to the scenario. After you confirm your scenarios, the added products appear on the left side and the product documentation appears on the right side.
You can also skip the scenario section and add additional products.
Step 04
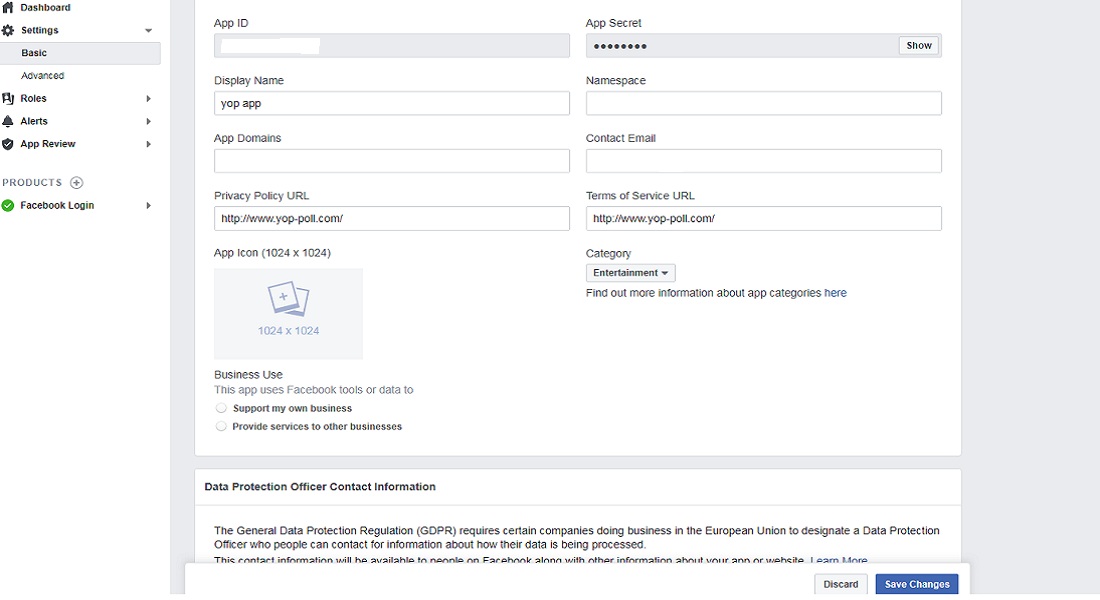
From the main Facebook menu go to My Apps and open the app you just created.
Open Settings and complete the Privacy Policy URL, in this case with www.yop-poll.com.
Make sure to save the changes.
It is important that you note the App ID because you will need it for the next step.

Step 05
Go to your WordPress dashboard, on the main menu select Yop-Poll -> Settings.
From the Integrations section set Use Facebook integration to Yes and type in the field the App ID from the previous step.
Make sure to save the changes.
Also, make sure that you select Facebook at Vote Permissions from Yop-Poll -> Options -> Access and save changes.
Step 01
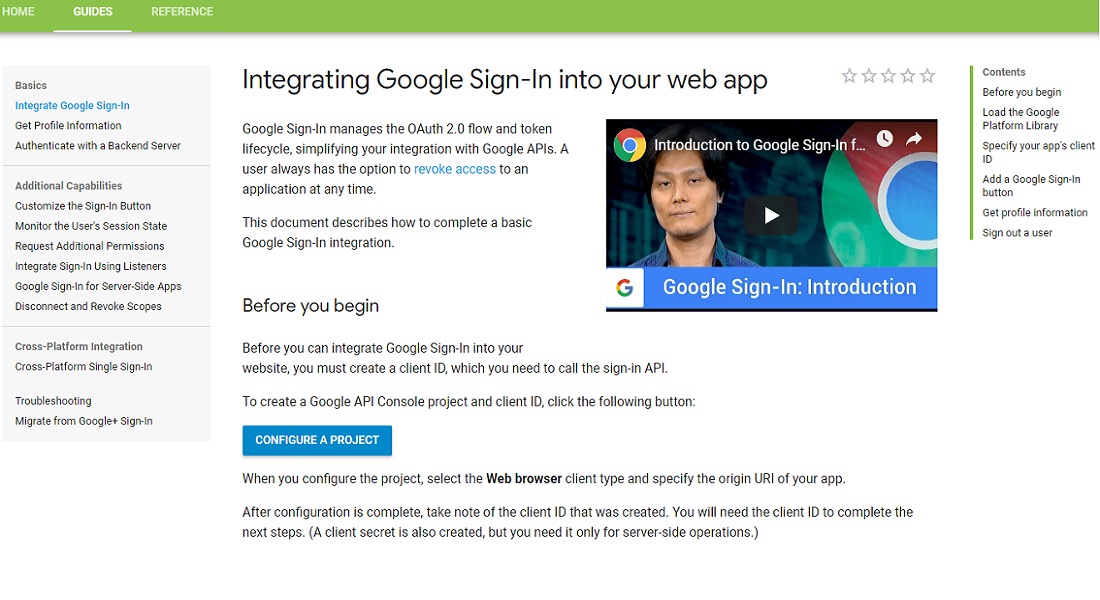
Before you can integrate Google into your website, you must have a Google API Console project. In the project, you create a client ID, which you need to call the sign-in API.
To create a Google API Console project and client ID, click the following link: https://developers.google.com/identity/sign-in/web/sign-in#before_you_begin and press the button: Configure a project in order to start.
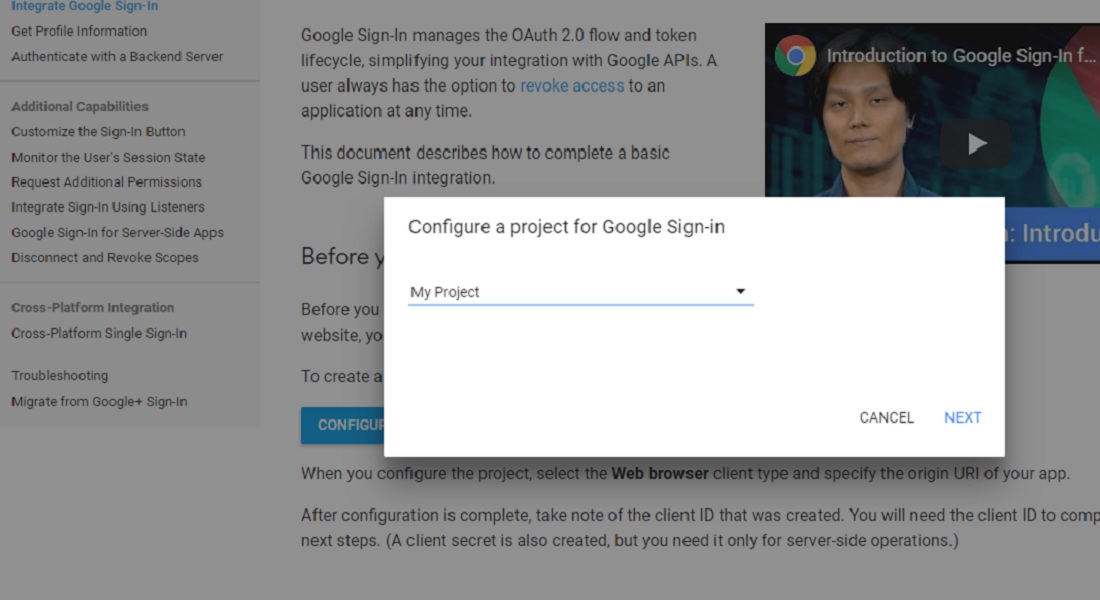
Step 02
In the Project Name field, enter your project (app) name.
Press the NEXT button.
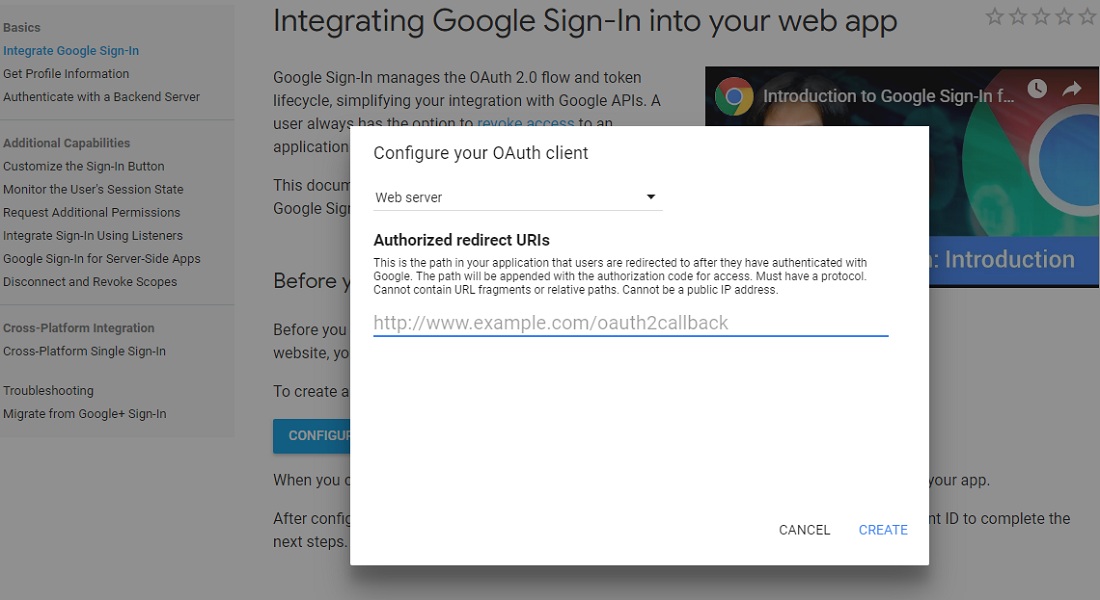
Step 03
When you configure the project, select the Web browser client type and specify the origin URI of your app.
Press the CREATE button.
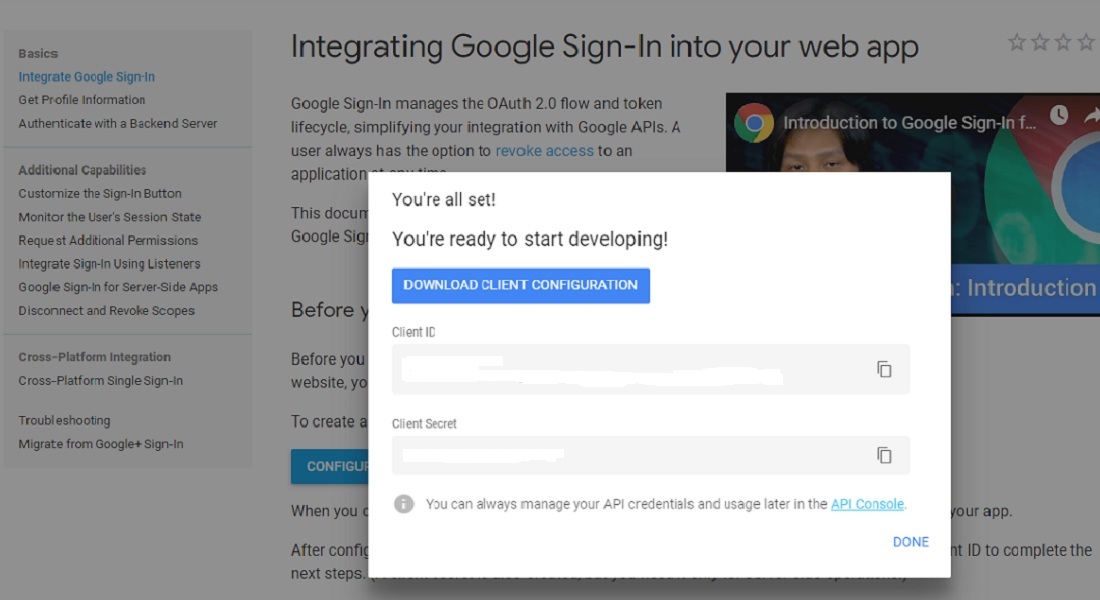
Step 04
From the resulting dialog box, copy the Client ID and the Client Secret. The Client ID lets your app access enabled Google APIs.
You can always manage your API credentials and usage later in the API Console.
Step 05
Go to your WordPress dashboard, on the main menu select Yop-Poll -> Settings.
From the Integrations section set Google+ and type in the field the Client ID and client secret from the previous step.
Make sure to save the changes.
Also, make sure that you select Google + at Vote Permissions from Yop-Poll -> Options -> Access and save changes.
Step 01
To start using reCAPTCHA, you need to sign up for an API key pair for your site. The key pair consists of a site key and secret key. The site key is used to invoke reCAPTCHA service on your site or mobile application. The secret key authorizes communication between your application backend and the reCAPTCHA server to verify the user's response. The secret key needs to be kept safe for security purposes.
To create the API Key click the following link: https://www.google.com/recaptcha/admin/create.
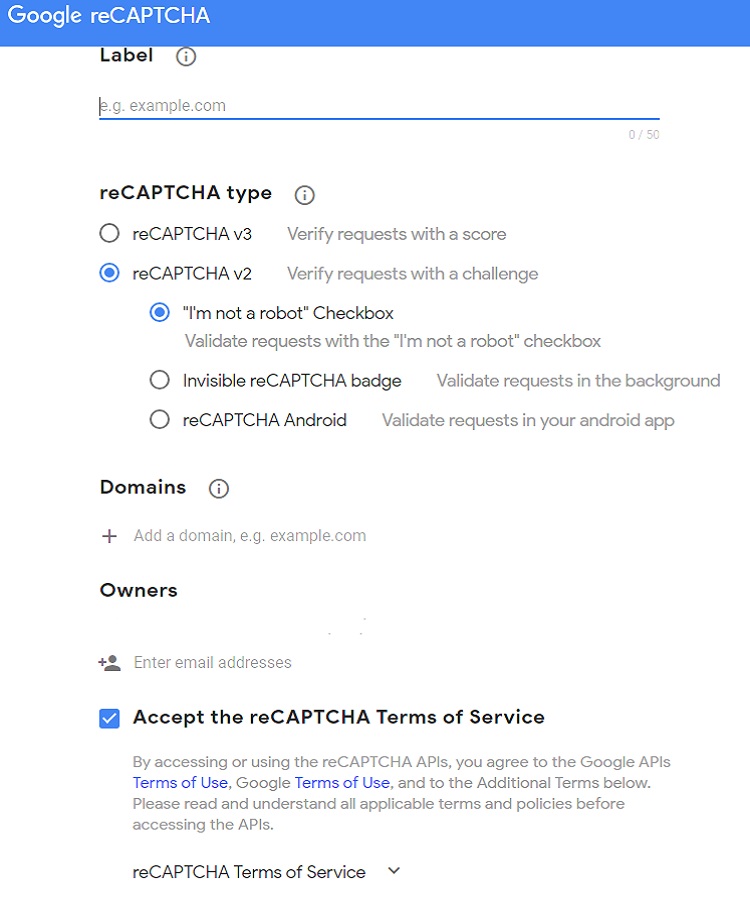
At the reCAPTCHA type, select reCAPTCHA v2 -> "I'm not a robot" and then fill in authorized domains or package names. After you accept terms of service, you can click SUBMIT button to get new API key pair.
Step 02
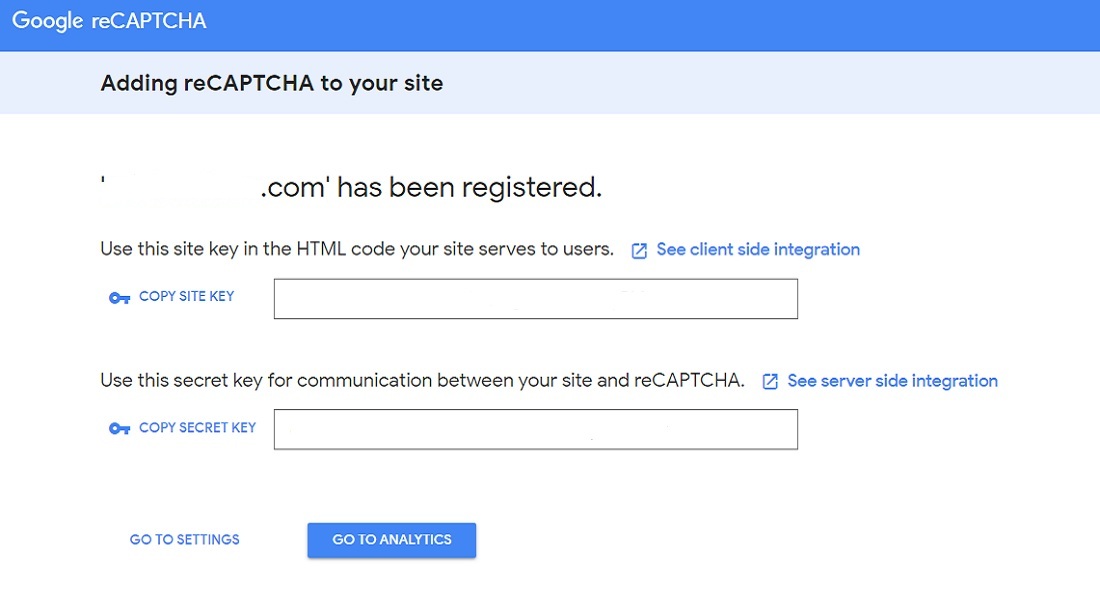
From the resulting page, copy the Site Key and the Secret Key. The keys lets your app access enabled reCaptcha APIs.
Step 03
Go to your WordPress dashboard, on the main menu select Yop-Poll -> Settins.
From the Integrations section set Use Google reCaptcha to Yes and type in the field the Site Key and Secret Key from the previous step.
Make sure to save the changes.